


Key Takeaways About Shower Leak Detection
Shower leak detection means finding where water escapes around valves pans or behind walls without unnecessary demolition. This guide is for homeowners and property managers who need clear steps when moisture, stains, or odors appear.
- Identify timing patterns to narrow possible leak sources quickly.
- Prevent larger damage by documenting moisture readings and photos.
- Avoid unnecessary demolition with noninvasive testing tools.
- Spot supply versus pan leaks using isolation and pressure checks.
- Reduce guesswork with moisture meters infrared scans and borescope footage.
- Plan targeted repairs using recorded test results and professional confirmation.
Introduction
A hidden shower leak can start at a valve, a pan, or behind a finished wall and slowly damage framing and finishes. Homeowners often notice stains, musty odors, or a soft spot in flooring before seeing the actual leak. Tracing leaks without tearing out tile or drywall limits damage and keeps repairs focused. In Mansfield many people delay action until visible damage appears which raises repair scope.
Valves can drip into wall cavities and shower pans can overflow into adjacent joists and ceilings below. Water follows path of least resistance and often shows up far from the original source. Detecting where the water travels helps avoid unnecessary demolition and speeds repair decisions. For properties in Waxahachie repeated moisture can also encourage mold growth that affects indoor air quality.
Professional leak detection aims to confirm the leak location and show how water moved through assemblies. Technicians use careful observation, noninvasive tests, and recorded findings to guide the next steps. A clear diagnosis reduces guesswork and keeps repair work targeted and less costly. Early detection also reduces the chance that mold or structural decay will need large scale remediation.
You should expect a focus on symptoms such as timing of moisture, unusual sounds, visible staining, and changes after appliance use. Inspectors typically document findings with photos, moisture readings, and pressure or dye tests to build evidence. Those outputs inform whether a small repair or a panel removal is necessary. If you suspect a medium risk leak contacting a licensed professional is the safest next step.
How Shower Leak Detection Works In Valves
Shower valve leak detection locates water escaping at or around the mixing valve or trim assembly inside the wall. Professionals start by watching when moisture appears, which answers whether the valve leaks during use or while idle. A common homeowner question is whether a valve drip can soak framing, yes, slow drips can saturate studs and sheathing over weeks. Detecting a valve leak early often prevents larger drywall or ceiling repairs below the shower.
- Inspect timing of when moisture shows up.
- Check trim and escutcheon for gaps.
- Use moisture meter readings on nearby studs.
- Perform a controlled supply shutoff test.
Technicians remove only the trim and escutcheon to look for visible drips and wet surfaces behind the valve. They often use a moisture meter and an infrared camera to map cool, damp areas without opening the wall. A pressure test of the hot and cold supply lines helps confirm a slow leak inside the valve body. If dye testing is needed, a plumber will add a safe dye while running water to see where it appears outside the valve assembly.
Visible signs homeowners can check include water pooling at the base of the valve, rust on screws, or staining on the ceiling below the shower. For properties in Mansfield, timing the leak by running only hot or cold supply isolates which side is failing. If a shower pan liner issue is suspected along with valve concerns, review common liner failure patterns before opening the wall at shower pan liner failures. When you find persistent wet spots or smell mustiness, contact a licensed plumber to avoid hidden structural damage in Waxahachie homes.
Common Causes Of Leaks Behind Shower Walls
Leaks behind shower walls often start where materials join, such as pipe fittings, grout lines, or behind the valve trim. A hidden leak at a threaded coupling or solder joint can drip slowly into the cavity without obvious surface wetness. Homeowners may notice intermittent dampness that appears after bathing or when the water has been off for hours. When that timing pattern appears, a professional will check joints and connections for slow seepage.
Tile and grout failures direct water into the wall assembly rather than through open pipe defects alone. Cracked grout or missing caulk lets water reach backer board and seams around niches or shelves. Technicians use a moisture meter and infrared camera to map cooler damp areas and narrow the likely leak path. If the valve is near damaged tile, specialists cross-reference moisture patterns with valve location when deciding next steps.
Another frequent cause is a failed shower pan or slip-resistant threshold that routes water into framing through the wall base. Soft spots in the base drywall or staining on trim often suggest pan overflow or breached curb waterproofing. Professionals sometimes run a controlled retention test in the pan to see if water reaches the wall lining or flows into floor joists. For homeowners weighing valve work versus tile repair, review replacement options at shower valve replacement choices before deciding on invasive fixes.
Plumbing vents, venting gaps, and improperly installed escutcheons also let condensation and splash water enter wall cavities. Rust on escutcheon screws or persistent condensation behind trim can signal a poor seal that needs attention. In Mansfield properties, older installations may show these small failures more frequently and deserve prompt checks. For repeated moisture in Waxahachie homes, document readings and photos so a technician can confirm the leak source and propose targeted repairs.
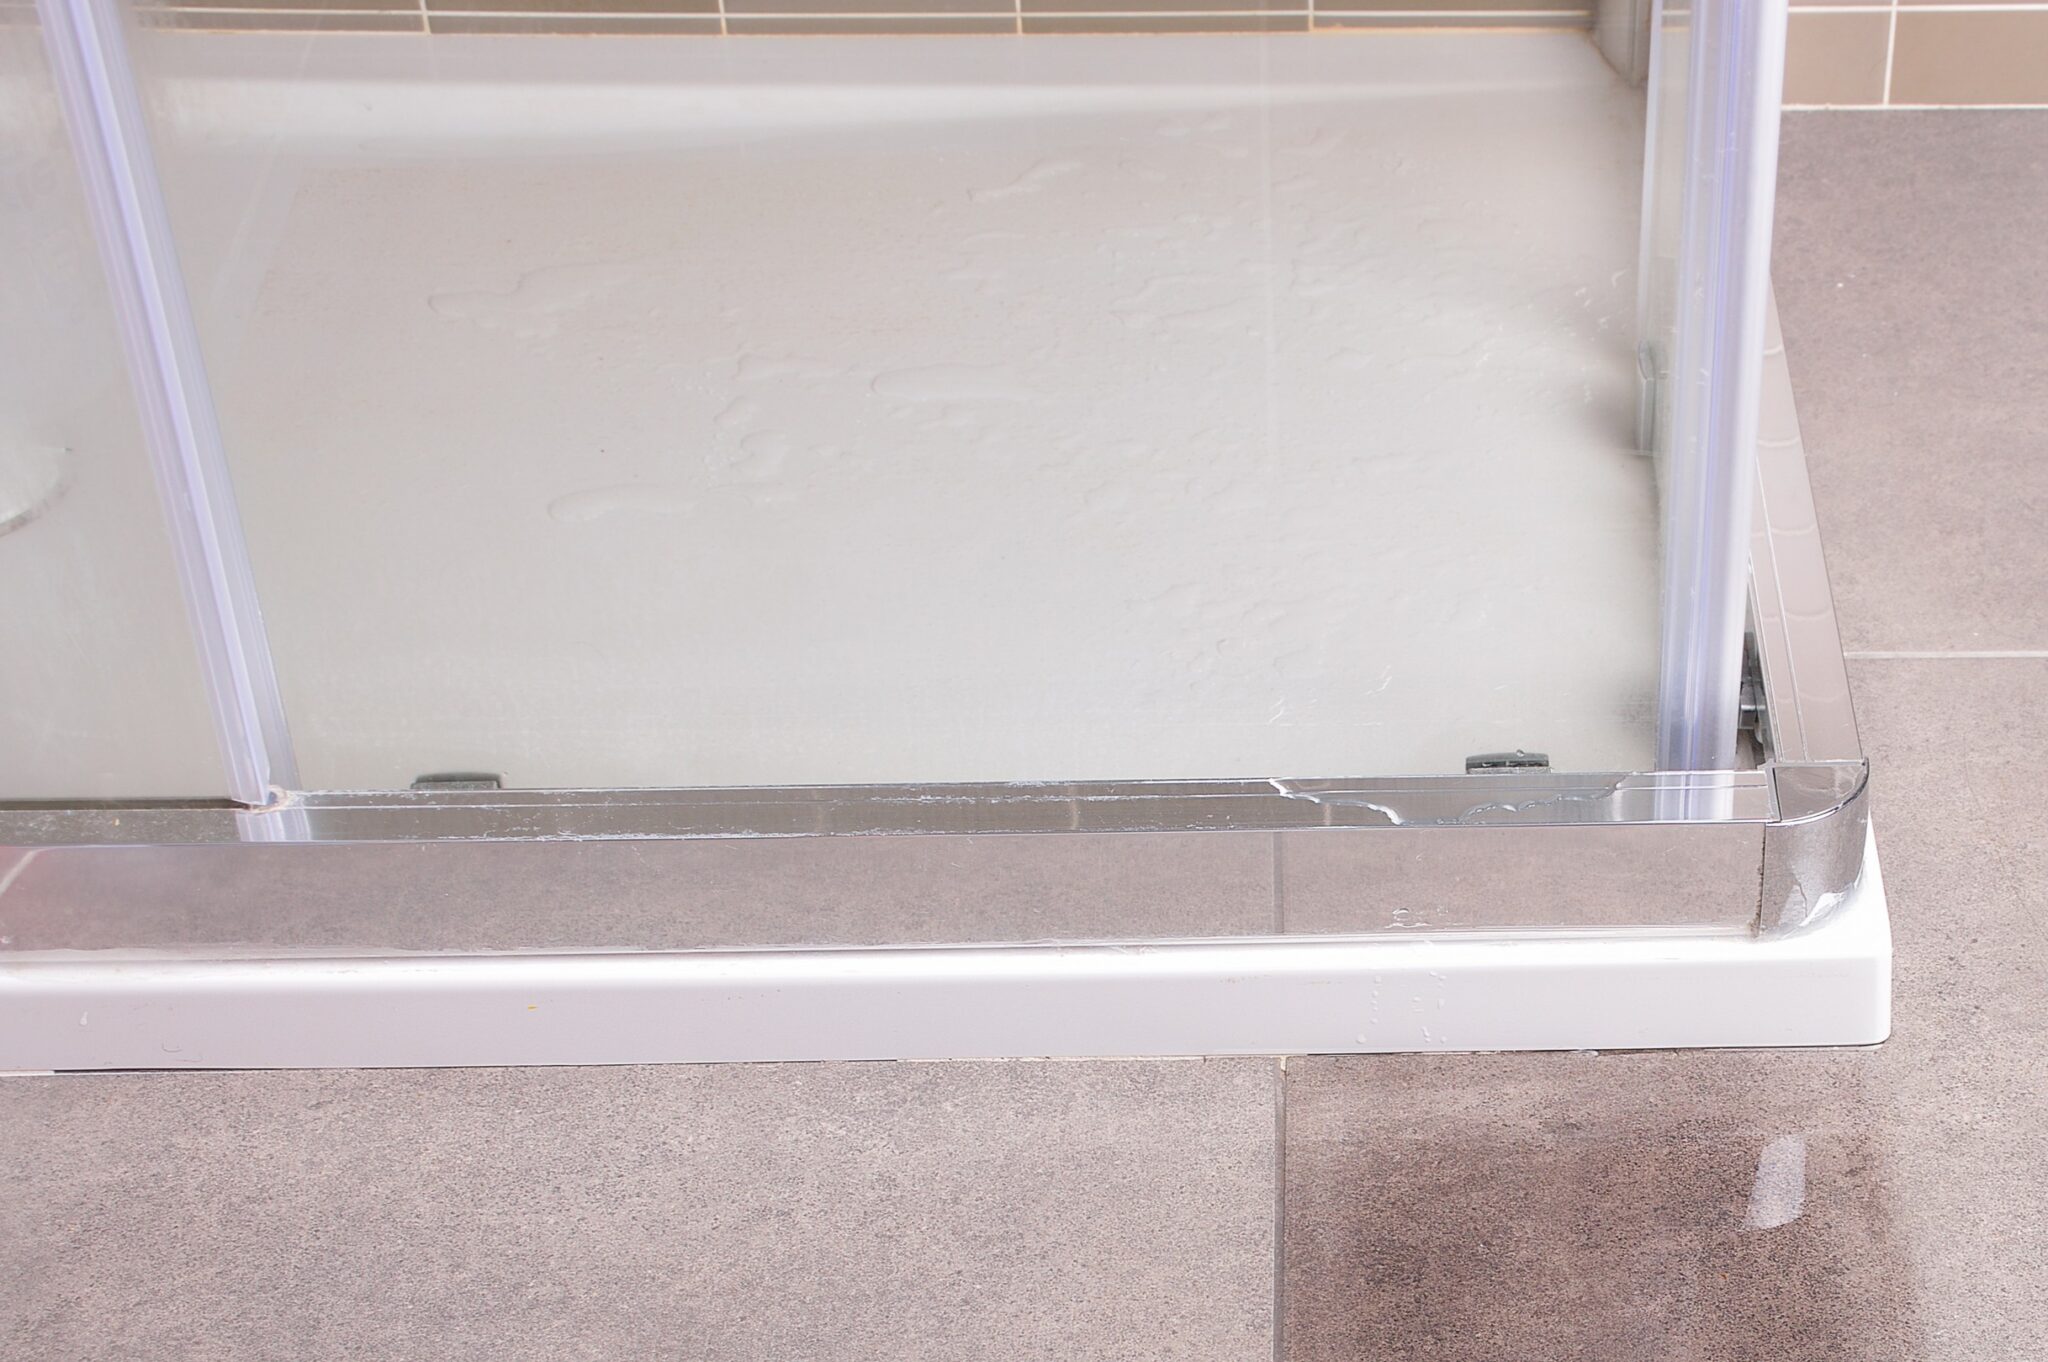
How To Find Leaks Under Shower Pans
Start by checking the visible pan perimeter and the drain area for slow seepage that travels under the tile or threshold. A professional will remove the drain cover and inspect the drain flange and visible mortar for signs of past leaks or softening. They often run a localized water retention test in the pan, adding small amounts of water and watching where it emerges. That controlled test helps tell if water sends toward the drain or out through the pan edge.
When visual cues are inconclusive, technicians use a moisture meter and infrared camera to map damp spots beneath the pan without cutting finishes. These tools highlight cooler, wetter zones where the liner may have failed or where water runs into framing members. If dye testing will help confirm a path, plumbers may use approved dye tablets during a retention test to reveal leak exits. See guidance about dye testing options and safe use at leak-detection dye tablets before attempting tests yourself.
Pressure and isolation checks on the supply lines can distinguish a pan leak from a supply-side leak that migrates under the floor. A pro will cap or shut off the shower supply and re-run the retention test to see if moisture still appears, which isolates the water source. They may also inspect the adjacent ceiling or joist cavities from below with a borescope to find recorded moisture or staining without cutting large sections. Those inspections produce photos and readings that form a clear diagnosis for repair planning.
Common homeowner clues include damp baseboards near the shower, an increase in humidity after short showers, or wet insulation in an access panel below. In Mansfield properties, take note if wet spots appear after only a short run of water because that suggests a direct path from the pan or curb. For homeowners in Waxahachie, persistent wet areas under the pan usually warrant a professional moisture mapping and possible liner evaluation. When you see these signs, schedule a technician to confirm the leak path before opening more structure.
Warning Signs To Spot Early Water Damage
Early subtle cues help you catch seepage before staining or soft framing appears. Look for fresh paint discoloration near seals that changes after shower use. Smells that intensify only after baths often mean trapped moisture behind finishes. Small gaps in caulk near the curb can let splash reach substructures quickly.
- New musty odors after a short shower
- Paint or wallpaper bubbling near the shower
- Warm damp spots on adjacent walls
- Drips or wetness beneath the trim
Timing patterns reveal much about where water travels inside assemblies. If dampness shows only after long runs it often traces through grout or under the pan. If it appears immediately, supply fittings or valve areas warrant careful inspection. Professionals use these timing clues to choose targeted noninvasive tests next.
Visible corrosion on screws, staining on ceiling joists below, or recurring mildew are all warning signs to act. In Mansfield, noticing these signs early reduces the chance of larger repairs later. For homeowners in Waxahachie, documenting recurring damp spots with photos helps technicians build a clear case. When evidence is inconsistent, a pro may perform moisture mapping and controlled dye tests as shown in guidance about hidden water leaks.
Noninvasive Tools For Shower Leak Detection
Technicians use noninvasive tools that locate moisture paths without cutting tile or drywall. A moisture meter gives spot readings on studs, grout lines, and trims to map wet areas quickly. Infrared thermal imaging highlights temperature differences that often match damp zones behind finishes. For more details on thermal scanning technology see thermal imaging scans.
A borescope lets a professional inspect cavities through a small 3/8-inch hole to look for visible wetting, mold, or damaged insulation. Using a camera, they record footage and photos to document where water collects inside the wall or under the pan. Smoke testing or a gentle pressure differential can reveal leak paths around penetrations without demolition. These tests create evidence that helps decide whether a liner, valve repair, or tile work is needed.
Dye testing during a retention test can show active leak exits while keeping finishes intact when used carefully. A plumber introduces a safe dye into the pan or runs a controlled flow at the valve and watches for colored traces at suspected leak points. Pressure gauges and supply isolation checks confirm whether pressure changes correspond with observed dampness. If readings are inconsistent, technicians plan targeted access points to confirm the leak.
Combined, these tools reduce guesswork and lower risk of unnecessary demolition when tracking shower leaks. In Mansfield homes, homeowners appreciate minimal cutting and clear photographic evidence for insurance or repairs. For homeowners who need a confirmed diagnosis, consider professional leak services that use noninvasive methods and documented reports at leak detection services. When tests show medium risk or mold, contacting a licensed plumber is the safest next step.
Step By Step Home Tests Before Calling A Pro
Start with a quick isolation check by shutting off the shower supply at the trim or individual shutoffs. Run the shower for three to five minutes while watching adjacent ceilings or cabinet bottoms for new drips. If no visible water appears, wait an hour and recheck for slow seepage that may show after standing water moves. This simple timing test helps separate active flow leaks from residual moisture issues.
Next, perform a controlled retention test in the pan by adding a small, measured amount of water and marking the level. Observe junctions, grout lines, and the drain area for one hour to see if water moves or disappears. If color tracing could help, consider professional dye options rather than household dyes to avoid staining or false positives. Record the results with photos to show any developing wet spots for later comparison.
Use a handheld moisture meter on grout lines, tile edges, and the wall trim area to map higher readings before calling for invasive work. Scan slowly and log the highest and lowest readings along with where you took them for an organized report. Combine those readings with a quick visual check for softened grout, loose tile, or deteriorating caulk that may let water pass. These steps give a homeowner clear evidence to share with a technician.
If you suspect pressurized supply issues, check for changes at the shutoff valves and monitor water pressure with a simple gauge on a hose bib nearby. Listen for continuous running sounds inside the wall after all fixtures are off, that suggests a supply-side leak needing professional isolation tests. When results remain unclear or moisture readings rise, bring in a trained technician who can use tools like electronic leak detection or borescope inspection. Homeowners in Mansfield and Waxahachie should document findings and contact a licensed plumber if tests indicate ongoing water movement.
When To Call A Professional For Shower Leak Detection
If your home shows ongoing moisture despite passing the basic checks, call a professional. Persistent dampness after isolation tests often means the leak is intermittent or pressurized. A technician will run controlled diagnostic tests you cannot perform safely alone. For Mansfield homeowners, quicker professional confirmation prevents hidden structural or mold damage from worsening.
- When moisture readings keep rising over time.
- When visible stains spread after short showers.
- When you smell persistent mildew despite cleaning.
- When sounds of running water occur with fixtures off.
- When access points show inconsistent test results.
Call a pro when tests suggest the leak is behind finished walls or beneath the pan. Professionals can perform borescope inspections and controlled pressure or dye tests safely. They will document findings with photos and readings for repair planning or insurance. Use documented evidence to decide between targeted access or larger repairs.
If you detect a supply-side issue or suspect mold, contact a licensed technician promptly. Specialists have experience isolating valve leaks, pan breaches, and wall seepage without unnecessary demolition. For homeowners wanting a professional diagnostic approach, see services like hidden water leak detection for what a full inspection includes. In Waxahachie properties, prompt professional action often limits repair scope and health risks.

Preventive Maintenance To Avoid Future Leaks
Schedule routine inspections of visible seals, grout lines, and shutoff valves at least once a year to catch small failures early. Replace worn caulk and regrout cracked joints promptly to prevent water entry into wall cavities. Check access panels and under-sink supply shutoffs for dampness during these inspections so small issues stay contained. If you spot unexplained moisture during an inspection, keep photos and meter readings for later comparison with a technician.
Flush and exercise shower valves annually by running both hot and cold water separately to reveal slow internal drips. Lubricating and cycling cartridge-style valves can extend their service life and reduce inside-the-wall seepage risk. Record any pressure changes or unusual sounds while exercising the valve so a plumber can correlate symptoms to test results. When parts show corrosion or ongoing leakage signs, plan a targeted repair before damage spreads.
Maintain proper drain flow and routine cleaning to avoid water pooling in the pan or around the drain flange that could find weak points. Tighten visible drain connections and inspect the drain flange for movement after cleaning to ensure a secure seal. Consider an occasional professional camera inspection to view the drain and trap area without cutting tile; technicians offer video camera inspections to confirm unseen issues. Keeping the pan and drain functioning well reduces stress on liners and adjacent framing over time.
Control humidity in the bathroom with exhaust fans and short ventilation after showers to limit condensation that can mimic or hide leaks. Clean and inspect fan vents yearly to maintain adequate airflow and prevent persistent dampness that may cause misleading moisture readings. If you notice musty smells returning despite improved ventilation, document timing and locations for a technician to compare with moisture mapping. For properties in Waxahachie and Mansfield, proactive maintenance often reduces the chance of needing invasive repairs later.
Create a simple log noting inspection dates, meter readings, and any corrective actions taken so professionals have a clear history when diagnosing future problems. Include photos of suspect areas and any test outputs such as pressure or dye test notes to speed diagnosis. When preventive steps do not resolve recurring moisture, a plumber can perform targeted diagnostics, including borescope checks and recorded readings, to decide next steps. Keeping organized records helps reduce repair scope and supports clearer planning for any required invasive work.
Frequently Asked Questions
How can I tell if a shower valve is leaking inside the wall?
Look for persistent moisture, soft or discolored drywall, or mould near the shower wall that appears after use.
What noninvasive shower leak detection steps should a pro use?
A pro will start with a visual and auditory scan, checking grout lines, trim, and sound of running water behind walls. They will isolate supply valves and perform a controlled pressure test using a pressure gauge to spot slow leaks. Technicians use an infrared camera and moisture meter to map cold spots and moisture without cutting into tile. If testing suggests hidden leaks, they will recommend a targeted intrusive inspection and caution homeowners to hire a qualified plumber for safety and containment.
Could a shower pan failure cause ceiling stains below?
Yes. A failed shower pan can let water travel through framing and wet the ceiling below, causing visible stains and soft drywall. During shower leak detection a professional will look for wet insulation, staining patterns, and probe the pan and drain area to confirm the source. If you see new ceiling stains, turn off nearby water if safe and contact a licensed plumber because hidden moisture can cause mold and structural damage.
What signs show water is traveling behind shower tile?
Look for grout or tile that stays damp long after showering and join cracks that widen over time. You may see paint bubbling or discoloration on adjacent walls or ceiling below the shower. A musty odor, soft wallboard, or spongy floor near the shower often means water is moving behind tile. If you suspect hidden flow, use shower leak detection and contact a professional because trapped water can cause mold and structural damage.
When should Mansfield homeowners call for leak detection?
Call for professional leak detection when you see persistent stains, soft spots, or new mold near the shower wall or floor. If water sounds run when fixtures are off or water meter shows unexplained usage, seek inspection. Visible water under the shower pan, slow-draining water, or bubbling paint warrant prompt attention. If you suspect hidden leaks, avoid DIY destructive checks and contact a plumber because water damage and slip hazards can escalate quickly.